Recipes and More

Sunday, October 3, 2010

A Soup To Bring You Home

The chilly air of fall days-to-come crept in my window this morning. But instead of cursing in shivers, I smiled and nestled even more into the warm covers, thinking of all the wonderful spiced beverages I would soon be enjoying: pumpkin spiced lattes, apple cider, Mexican hot chocolate, and warm horchata. I had already begun to flip through the autumn sections of my cook books, looking for ideas to inspire and to warm our bellies in the cold nights to come.


One such meal will be today's recipe for it is one of my greatest accomplishments in the kitchen (besides perhaps, baked things). With this soup and this soup alone I conquered the chill in the air and won Dylan's heart. We sat on the couch, watching Modern Family with huge smiles on our faces, partly because of the show's hilarity, but much due to the fact that the soup has the power to seep warmth into your bones and make you feel o-so-cozy. And although I didn't say it aloud, I think that for just a minute, this one soup had brought me back home.  

Home Soup: Potato Broccoli Soup with Spicy Sausage
Serves 2-3

You Will Need:

-2 Trader Joe's Smoked Andouille Chicken Sausage,
precooked and cut into 1/2 inch slices *See note
-1/2 onion diced
-1-2 garlic cloves, minced
-1 1/2 Tablespoon minced rosemary
-1 large russet potato cubed
-2 cups chicken broth, plus about 1 cup extra
-about 2 cups broccoli, broken apart into small florets
-1/2 cup shredded cheddar cheese
-1/8 cup grated Parmesan
-salt to taste

*I used Trader Joe's Smoked Andouille Chicken Sausage which works like a charm and adds a kick to the soup that may not have been there otherwise. I strongly advise using this, however any spicy sausage will do. Also note, 2 sausages, NOT two packs of sausages.


1. Heat a little olive oil in a deep frying pan or in the bottom of a pot and cook the sausage until browned. Remove the sausage from the pan and put aside for later.

2. Saute the onion in a little butter in the same frying pan until softened and beginning to brown. Add the garlic and cook until fragrant, another 2 minutes. Add the rosemary, potatoes, and 2 cups chicken broth.

3. Bring to a boil, then reduce the heat to low ad simmer, uncovered for 10min. Add the sausage and broccoli, and add about 1 cup more chicken broth. Add the cheese to the top of the soup and bring it to a boil one more time, covered.

4. Stir the soup until the cheese is incorporated and salt to taste. Serve in bowls and enjoy!

This soup is garunteed to warm your toes and make you smile. Hope you try it for yourself and as always, happy cooking!

-Kristin

Sunday, September 26, 2010

Midnight Cravings, a tale of how a mini cake came to be

I don't know what inspired me. Maybe it was that I wanted to surprise Dylan with something special. Maybe it was my incessant need to bake things all the time. Perhaps it was my overpowering desire for something sweet. But cookies or candy or ice cream just wasn't going to cut it. I don't know WHAT it was. All I know is that I wanted cake and I wanted it right then. So I slipped into the kitchen while Dylan was distracted talking to his mom on the phone and started concocting my wonderful midnight treats. Oh, yeah. Did I mention it was almost midnight?

I had in my head a vision of something cake-y but gooey and fruity at the same time. I could just taste what it was I was trying to think of....OH pineapple upside down cake. But I don't want to make a whole cake...Of course! Miniature pineapple upside down cakes! I pulled out my mini Pyrex cups and got to work melting the brown sugar and butter to make a gooey caramel, mixing together the fluffy yellow cake (from scratch, yes it is sooo easy and soooo much better than a box), and layering all the pieces together with the pineapple. Yum! I was in heaven and soon Dylan was too as the decadent smell of freshly-baked sweetness wafted from the oven. What are you making in there? I wouldn't tell him. He'd just have to be surprised. 

It just so happened that as soon as I pulled the cakes out, Dylan had just gotten off the phone and wandered into the kitchen towards the delicious smell. He practically started hopping up and down with excitement and didn't even realize what they were at first (not just cake as by the looks of them in there upside down state). We waited in agony for 10 long minutes for the cups to cool down enough to tip them over without burning our hands, which we did as fast as we could as soon as the waiting period was up. It took all my effort to take a few impatient pictures of my creation before launching into the cake with my fork as fast as possible. It was one of the best pineapple upside down cakes I have ever had. I don't know whether it was the fact it was midnight. Or that I had succeeded in mysteriously baking something in the kitchen without alerting Dylan. Or that it was my craving for something sweet finally being fulfilled. All I know is: it was damn good.


Miniature Pineapple Upside Down Cake
Makes 2 mini cakes

What you will need:
-1/3 cup brown sugar
-3 Tablespoons butter
-2 handfuls of frozen pineapple chunks or 2 pineapple rings
-(optional: 2 maraschino cherries) 
-1/2 cup flour
-1/2 teaspoon baking powder
-1/4 teaspoon salt
-1 egg
-1/3 cup sugar
-1/8 cup milk

1. Preheat your oven to 350 degrees. Melt the butter in a small saucepan. Add the brown sugar and melt on low heat until the mixture is a gooey bubbly caramel. Do not let it burn, you will ruin it, promise.

2. If you are using frozen pineapple, put the chunks into a small bowl and microwave for about 15 seconds (you're not melting them completely, just warming them up).

3. Mix the rest of the ingredients together in a small mixing bowl until smooth and there are no clumps.

4. Grease your small Pyrex bowls with butter or non-stick spray. You can also us muffin tins for this.

5. Now start layering. First divide the caramel evenly between the cups, you don't have to use all of it. Add to your liking. Next, add either your pineapple ring or pineapple chunks. If you are using a cherry (for traditions sake), add it now. Next, divide the batter evenly over the pineapple and caramel up to 1/2 inch from the rim.

6. Place the cups on a baking sheet and bake for about 25-30 min. or until a tooth pick comes out clean. Depending on the oven and the amount of batter per cup, the cooking time will vary so I would check in on them every 10 min. (Don't worry the cakes won't fall if you open the oven)

7. When done, take the cakes out and let cool in their dishes for 10min. Carefully flip the cups over onto your serving plate and voila! You have 2 beautiful mini cakes just for you to indulge in. Yum!

Enjoy and as always Happy Cooking!

-Kristin

Sunday, September 5, 2010

It's a muffin kind of morning.

Even though it is still summer in Boston, it has finally cooled down from the raging roll of 90 degree weather that kept us under ice packs and fans for 5 unbearable days. And so in the wake of this new 70 degree weather, I am celebrating by thinking of all the yummy things to look forward to in the coming fall. I am literally holding myself back from running out and buying pumpkin puree so I can make pumpkin pie--my absolute favorite dessert. I am a pumpkin fanatic and it kills me that the stores here decide not to keep it in stock until November when Thanksgiving rolls around. So, in the meantime, I have to make due with other fall treats and flavors.

I turned over from a deep sleep this morning to see Dylan's smiley face saying "I want muffins!" So, hardly hesitating on the subject of breakfast, although it is already 10:30 in the morning, I look through my books for ideas on the perfect healthy muffin (without white flour, since I didn't realize that all the flour, that I assumed we had used up in the bag, had actually been moved to a glass jar which I failed to notice in my morning sleepiness). Making use of the oat bran and whole wheat flour I had stored, I created my very own blueberry bran muffin with a cinnamon-sugar crust to satisfy that late morning craving.


Blueberry Oat Bran Muffin
Makes 10-12 muffins

You will need:

-1 1/8 cup oat bran
-1 cup milk
-1 Tablespoon plain yogurt (although, I used banana cause that's what I had)
-1 cup whole wheat flour
-1/3 cup brown sugar
-1/2 Tablespoon baking powder
-1/2 teaspoon baking soda
-1/4 teaspoon ground cinnamon + about 1/2 teaspoon for topping
-2 large eggs
-1/3 cup canola oil
-1 teaspoon vanilla extract
-1 1/2 cups fresh or frozen blueberries
-1/4 cup granulated sugar

1. Combine the oat bran, milk, and yogurt in a large bowl. Mix together and let sit for 20-30min., letting the oat bran soften.

2. Make sure rack is in the lower third of the oven and preheat to 350 degrees F.

3. Mix together well the wheat flour, sugar, baking soda, and cinnamon in a medium size bowl. Put aside.

4. Add the eggs, oil, and vanilla to the oat bran mixture and whisk to combine. Add the flour mixture to the oat bran mixture and mix with a rubber spatula until just combined. Don't overmix! They will become tough if you do!

5. Add your blueberries and fold into the mix.

6. Grease the muffin cups with either butter or an oil spray. Spoon the mixture evenly into each cup, using all the batter.

7. For the topping: Mix the granulated sugar and last 1/2 teaspoon of cinnamon together. Sprinkle each muffin top with about 1/2 teaspoon of the cinnamon-sugar. Don't skimp on the sugary tops! In the oven these will melt down to create a crunchy sugary crust.

8. Bake for 20min. or until toothpick inserted in the middle of a muffin comes out clean. Let rest for 10min on a cooling rack before serving.

9. Eat them with butter, with a little honey, or as is. Enjoy!!

Happy Cooking,

-Kristin

Saturday, September 4, 2010

Summer, Sunflowers, and Sauce


School's almost in session, I am back in my little apartment, and the weather is o so fine and dandy! It's been a wonderful couple days back so far, albeit busy. Taking the job on as peer advisor for 13 students as well as directing hundreds of students through orientation is quite a lot of repeating and re-repeating, but is so rewarding. I love greeting the shy, nervous looking student with a big, "Welcome to Berklee! How are you doing today? Where are you from? What's your instrument?" If I can get them to leave with a smile and a little less nervous, I've done my job and I feel so good about it.


Since I've been back, I've been on a bit of a health regime. I find myself craving fresh herbs, fruits, and veggies. Dylan and I ran into the Copley Square Farmer's Market last Thursday, which was a pleasant surprise, and led to the purchase of several freshly baked rolls and sweet corn. I became fascinated, as Dylan stood in line for bread, with the amazing sunflowers Siena Farm was selling. Huge, beautiful sunflowers smiled up at me out of buckets while honey bees busily collected their quota of pollen for the day.

Today's recipe is a little something I concocted one night this week to satisfy my need for meat--something I often overlook between my busy schedule and mouthfuls of food. The other reason I often find myself in a meat shortage has to do with Dylan's and my picky price requirements. We sometimes focus so much on the cheapest best quality food, that we overlook the meat section entirely, simply because nothing there is under 5 dollars. Luckily for us, Trader Joes provides meats that don't push the budget too much as long as we work it into our meals for the week. This week's perfect find: pork tenderloin for a little more than $5.00. And to satisfy my eternal craving for a balance between savory and sweet, a buttery apricot sauce to serve it with.


Black Pepper Encrusted Pork Tenderloin with Apricot Sauce

You Will Need:

-1 pork tenderloin
-sea salt
-freshly ground black pepper
-1 clove garlic
-1/3 cup white vinegar
-1/2 cup apricot jam
-1 cup chicken stock
-2 tablespoons butter

1. Cut of the silver skin of the tenderloin. Sprinkle with salt. Cover, roll, etc. in the black pepper evenly. You need A LOT of black pepper. Make sure you have enough to create a nice crust.

2. Brown the tenderloin in a HOT pan about 5-6 min. a side.

3. Bake in oven at 375 degrees for 20min or until done. Then, let rest while making the sauce.

4. To make the sauce: Use the same pan you seared the tenderloin in (don't wash). Saute the garlic for half a minute.

5. Add vinegar, jam, and stock. Mix well with whisk. Cook on high until reduced to half the original volume.

6. Add the butter and stir till melted.

7. Serve the diagonally cut pork tenderloin over the sauce! Yum!


As always, Happy Cooking!

-Kristin

Friday, August 20, 2010

I have a courtyard.

I have a courtyard. And it sits. And waits. But no one ever goes near it except for the occasional watering of plants. I have just recently discovered the beauty and potential of this little space. Swept clean of cobwebs and dirt that has formed a dust-like layer upon the tile, it begins to remind me of a little outdoor restaurant in Italy somewhere. My sister and I vigorously scrub the tile with water along with the metal chairs and table with spiral finishes and satisfied that it looked worlds cleaner, began to string rows of Christmas lights from one wall to the other, hanging paper lanterns every-so-often, and twisting the final stretch of light around a Japanese maple tree in the corner.

The little space comes to life when we throw a navy-blue and white table cloth in a fantastic design over the table, decorating every inch of the space with tea lights in amber-colored glass and larger creme-colored candles in magnificent glass-blown vases.

With this set-up there was no way we were going to pass up the opportunity to create a mini tapas restaurant in our own backyard. Inviting over one of my mother's closest friends, my sister and I hurriedly created a shopping list for the night ahead. And the kitchen was a mess by the time it was over. While "tapas" are supposed to be Spanish, we created tapas from around the world including baked brie with caramelized onions, lemongrass chicken skewers with a peanut satay sauce, hand rolled California rolls with (yay!) successful sushi rice, grilled slices of polenta with ratatouille and Parmesan, Peach Melba in a caramel with homemade raspberry sauce, and our recipe for today: marinated bell pepper salad. Not only was this my favorite dish of the bunch that we made, but it captured the original spirit of Italy that the courtyard seems to encompass. It is a magnificent, surprisingly to-die-for salad that is also unbelievably easy. And unlike other salads, it can be made way in advance.

Marinated Bell Pepper Salad
(makes 4 servings, from the Culinary Institute of America)

you will need:
Dressing:
-1/4 cup red wine vinegar
-1/4 cup balsamic vinegar
You can omit the red wine vinegar if you have a really good quality balsamic laying around. The red wine vinegar will overpower the subtle sweetness of a really good one. 
-1 teaspoon salt
-1/4 teaspoon ground black pepper
-1 1/2 Tablespoons of fresh herbs (optional, of your choice)

-1 1/2 cups mild olive oil
-1/2 cup very thinly sliced red onions
-1/4 cup black olives cut into strips (pitted, of course)
-1/4 of a bunch of cilantro, chopped
-1/2 jalapeno, minced
-1 clove garlic, crushed or minced

Salad:
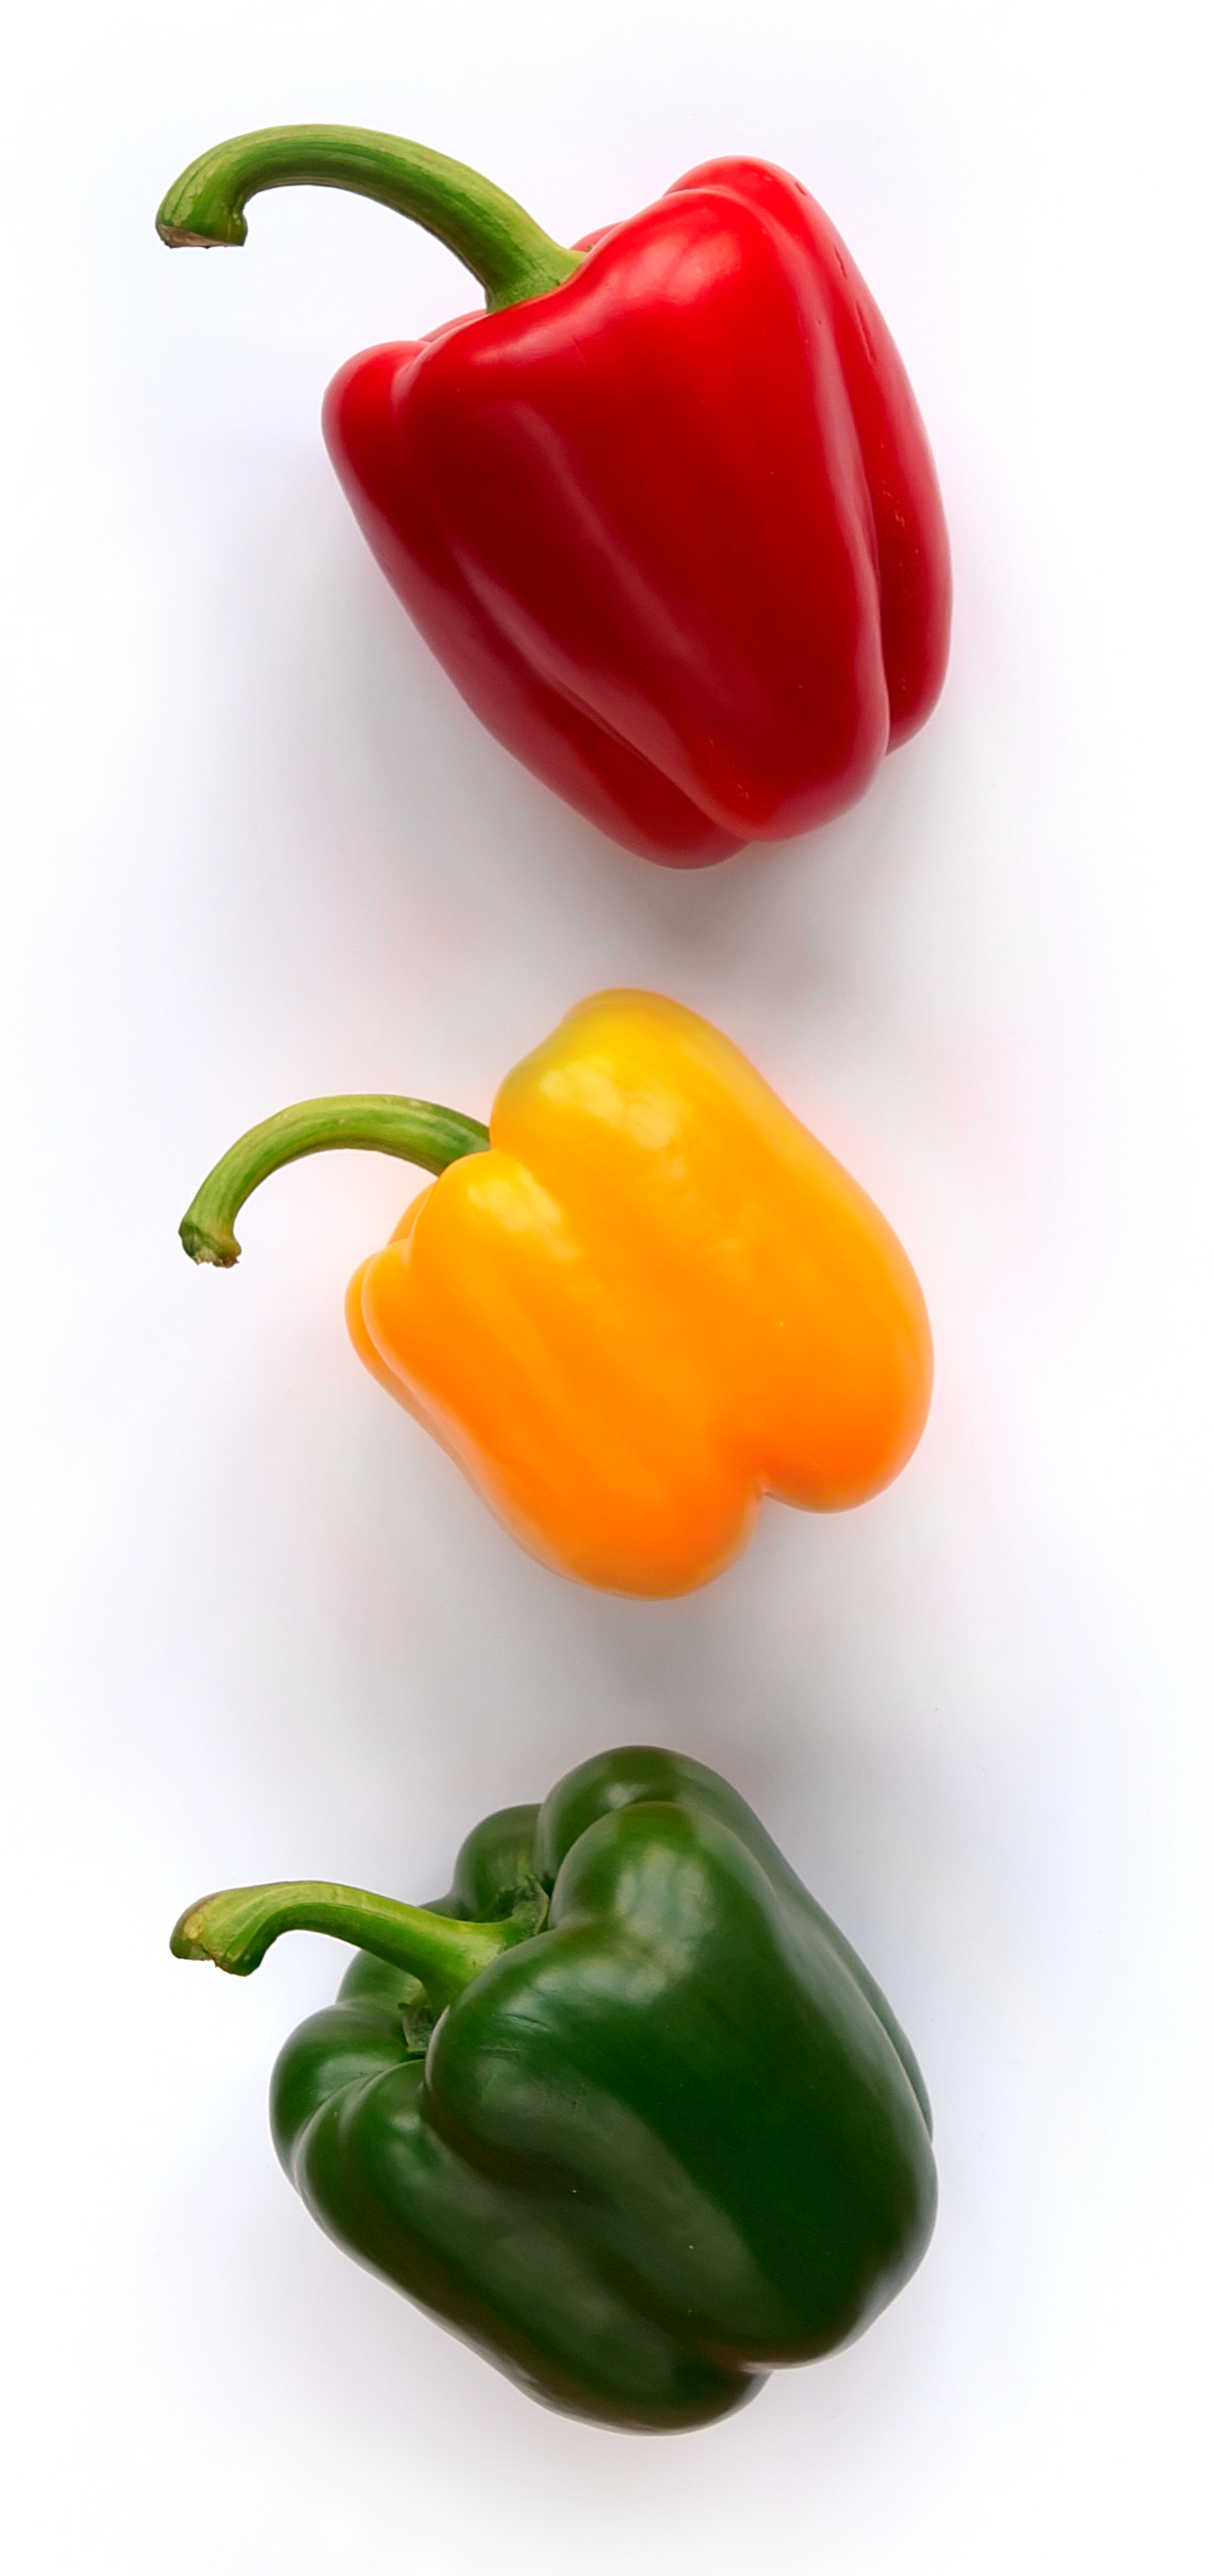
-3 bell peppers (one of each color, you decide which three. I used red, yellow, and green)
-toasted pine nuts (you can toast them yourself)
-Parmesan cheese (preferably in large strips which can be bought pre-grated or you can do yourself)


1. Cut the bell peppers into 1/2 inch strips

2. Mix all the ingredients for the dressing together, pour over the bell peppers, and toss till evenly coated. (There will be an excess of liquid in the bowl.) Try and get as many peppers beneath the surface of the liquid as possible without smashing them, cover with plastic wrap and let marinate at room temperature for 30-45 min or refrigerate until needed but let it come to room temperature again before serving.

3. Toss in the pine nuts, and grate fresh parmasean over the top and serve! Wasn't that easy? Enjoy!

Happy Cooking!

-Kristin

Thursday, August 19, 2010

A Sip of Autumn

So I know I have been like the worst blogger ever, randomly posting, having no schedule at all and telling everyone that I'll be more on top of it. But as it would turn out, my personality doesn't really support these promises. So I have decided to let go of any kind of "holding myself to it" and have decided to embrace the fact that the beauty of blogging is not being on any kind of schedule. The other reason I have been so held back from writing besides the fact that I'm awful at following routine is that I only ever want to write about truly mouth watering treats. Things that impress and inspire me and my foodie-ness. And it just so happens that this is one of those very foodie occasions.

And while I know that we are not exactly out of the summer heat yet (unless of course you live where I do and have been in mostly winter this summer) I am starting to have cravings for fall and all the wonderful food surprises it brings.

To me autumn feels like a point of renewal, a time to take a look at yourself and re-evaluate how you live your life. I have been having such thoughts of renewal as I contemplate my move back to the east coast to go back to school. I've made goals for myself: eat better, more veggies, exercise more, practice more, work more, care more about school and myself. And while I find it is absolutely fantastic to have so much free time in which to bake wonderfully sweet treats, I feel it is time to go back to the goodness of healthy, natural, simple eating.

Watching the food network a lot lately, I am inspired by the fact that they make everything from scratch. Things that I wouldn't normally make in order to save time such as broths and ice cream and pasta and mayonnaise. But making it from scratch ensures you are using wholesome ingredients, that there is no trans fat (which is the only fat with sufficient evidence that it can cause CHD, coronary heart disease) and that it is made, although perhaps with a side of frustration, from the heart. 

Today's recipe is still a little sugary but it definitely brings to mind the essence of autumn and renewal and the feeling that I can do anything (especially in cooking). Chai tea is one of my most loved warm brews to be sipped on crisp autumn mornings. I particularly love chai lattes which combine creamy and spicy together to make a richness that I imagine some princess in a snow castle drinking with Turkish delight up on a brightly colored cushion.

Homemade Chai Tea
adapted from the Earthbound Farms Cookbook

You will need:
-1 cinnamon stick (4 inch)
-6-8 whole cloves
-fresh ginger (3 inch piece) peeled and sliced thinnly
-1/2 tsp whole black peppercorns
-6-8 cardamom seeds (or 1/2 tsp. ground)
-zest of one lemon or orange in thick strips (use a peeler)
-3 cups water
-4 black tea bags (I used Lipton and it turned out great)
-1/2 cup low fat milk
-1/2 cup half n half
-1/4-1/3 cup sugar

1. Crush the cinnamon stick, cloves, ginger, peppercorns, and cardamom by any means you have into pieces. It doesn't need to be a powder, just crushed enough that everything is in small pieces. I used a plastic bag and one of those kitchen hammer things (I don't know what it's called) and that worked fine.

2. Add your newly crushed spices to a medium saucepan and add your zest. Bring the mix to a boil and then turn the heat to low and cover for 10 min.

3. Take off the heat and add your tea bags. Steep for 5 min. with the lid on.

4. Remove the tea bags. Add your milk, half n half, and sugar and stir on medium heat until the sugar dissolves.

5. Strain the tea into whatever you want to store it in and discard of the solids. Serve immediately or let it sit out covered with plastic wrap with some holes in the top until it reached room temperature before storing it in the fridge.

6. Feel free to add whipped cream if you wish to serve it as a dessert. It is excellent!

I hope you enjoy this little sip of autumn. Happy Cooking!

-Kristin

Saturday, July 10, 2010

A Little Bite of Summer

Summer is one of my favorite times of year as long as I'm somewhere hot and country like, and my grandparent's house in the Napa valley is the perfect place for a summertime atmosphere. I filled my lungs with sweet smelling air, rolled down the windows, dressed in summer rompers and sandals, and listened to my favorite bluegrass band. And I stayed in this state of utter summer bliss for an entire week. I was also especially lucky to have my two cousins to share adventures and laughter with. I left last Monday with a complete feeling of fulfillment and high spirits only found in such a perfect summer getaway.

It's hard to explain the sense of attachment I have to my grandparent's house. I still feel the same sense of wonder and excitement I felt as a child at that house whose garden provided my very own wonderland to be explored. During Easter me and my cousin decked in matching outfits would pretend we were fairys, announcing our elemental powers. We would dance around the garden, chasing dragonflies, making daisy chains, and jumping off the pick-nick table onto a tire swing hung from a huge moss laden tree (which is still there to this day).

These experiences have stayed with me and as I run from the main house to the smaller guest house, across the lawn surrounded with such an array of flowers cascading their long necks onto the edge of the grass, I feel as if I was a little girl again. I feel as if I was Alice in her wonderland garden, and I am able to replenish that child-like spirit that is so easy to lose as you grow older. 

But perhaps you are wondering what any of this has to do with food. Well, one of my favorite past-times while enjoying the summer weather is to bake delicious desserts such as puddings and pies and ice cream, which I did liberally during my last stay. The first weekend of our stay we were to celebrate my Grandpa's 80th birthday and my Grandmother's 75th birthday, so my mom and I together set about making three delicious pies. I was in charge of the Sour Cherry Pie, which was a wild success, as well as a large Dutch Apple Pie which was savored over the entire weekend. My mom baked an apricot pie in the style of her ever-popular pear pie which has a sort of yummy custard froth that is poured over the pears and baked creating the most decedent smelling and tasting pie. If you are interested in any of these recipes, the Sour Cherry Pie can be found in the Williams-Sonoma's American cookbook which also has a very delicious recipe for chocolate-chip cookies. You can find the Apple Pie recipe in the Joy of Cooking; use the apple pie recipe except for the part about the second crust top and instead use Strudel 1 recipe for the topping.

After the big celebration, early in the week my cousin, sister, mother, grandmother, and I had the random inclination to drive up this very regal looking driveway on the way back from a hike and to our surprise, there sat a very large castle winery called Castello di Amorosa which we had no idea was there previously. Even my grandmother who had lived in the Napa Valley for some long years, had never known it was there. We also realized, being guiltily of watching the Bachelorette show on T.V., that this castle was also where one of the final episodes of last season had taken place. Full of curiosity we decided to return the next day in our summer dresses to take pictures and to explore the castle.

 The next day we paid the entrance fee which also including a free wine tasting and juice for minors. We toured the beautiful castle which we all remarked, made us feel like we were in Italy. When we were through walking around the castle turrets, the large fully-painted dining hall, and the various other rooms we were allowed to walk through, we made our way down to the wine tasting room. There was also a large selection of objects and books and colorful pasta to buy which I had fun looking through. And as I was looking through the cookbooks with my cousin and sister, I came across a very appealing looking cookbook entitled Farmers' Market Desserts by Jennie Schacht. I opened to a random page to find the most decadent dessert staring up at me: Orange Cupcakes with White Chocolate-orange Butter cream. I flipped to another page and it read: Roasted Pumpkin Pie in a Maple-Pecan Crust. Page after page were filled with such yummy and outrageous sounding desserts that I just had to purchase the book, which I did.

On the way back to my grandparents, my cousin and I crooned over even the strangest sounding concoctions and planned the next few days of dessert adventures. First up, we decided to create the very daring recipe: Avocado Velvet, a kind of avocado pudding with syrupy blueberries and whipped cream on top. We were slightly speculative of the taste but we decided to go for it. We followed the directions precisely, processing the avocado with sugar, lime, salt, and cream into a smooth, thick pudding. We made the simple syrup and tossed sprigs of mint and blueberries into it. Served in little bowls, we handed out the concoction tentatively and dipped our spoons in with hesitation only to be greeted with the most delicious combination of flavors. While the pudding itself was not exactly the most appealing tasting pudding alone, the blueberries and syrup and whipped cream made the pudding come alive and become something so utterly decadent. It was a very pleasant and fresh surprise. My grandmother was the most pleased, being a huge avocado lover herself.

The next day we took on our next challenge, Grilled-Fig Sundaes with Balsamic "Fudge". In the morning I made the Balsamic "Fudge" which essentially is a balsamic reduction with dry red wine and sugar added which a sweet and tangy sauce. Later, we picked rosemary sprigs from the garden and stripping the needles away, created skewers which we passed through the backside of halved figs sprinkled with olive oil, salt and pepper. We then proceeded to create our own french vanilla ice cream which turned out extremely well, although there was hardly enough to go around. Next we grilled the figs on the grill and served them next to the ice cream, the balsamic fudge drizzled on top. We served the interesting array with more confidence this time and were again, blown away by the flavors presented in the presentation. The sweetness of the figs and the ice cream balanced with the tangy balsamic was an unbelievable combination, a delightful mix of sweet and savory flavors.

This cookbook exceeded my expectations and I can't wait to try many many more of the recipes presented here. For now, I will share with you the recipe for the Avocado Velvet:

Avacado Velvet 
from the Farmers' Market Desserts cookbook by Jennie Schacht

Recipe makes about 4 servings

You will need:
-1 pound (about 2 large) firm-ripe avocados
-6 Tablespoons granulated sugar
-2 Tablespoons fresh lime juice
-1/8 teaspoon salt
-1 cup half-n-half, very cold
-2 Tablespoons water
-1 spring mint, about 3 inched long, plus extra leaves for garnish
-lightly sweetened whipped cream

The Velvet:
1. Remove the skin, the pit, and any brown spots from the avocado flesh and measure about about 1 cup packed avocado. Add the avocado, 3 Tablespoons of the sugar, the lime juice, and the salt into a food processor and blend until very smooth and thick. Add the half-n-half and blend completely until very pudding-like. Taste and add more sugar if you would like. Refrigerate the mixture for 2 hours or up to a day.

The Bluberries:
2. Add the water and the remaining 2 Tablespoons of sugar into a small saucepan and heat over medium heat until the sugar dissolves. Add the mint and 3/4 of the blueberries and toss until the syrup completely covers the berries. Store in an air-tight container at room temp. for up to an hour or in the fridge for up to 2 days.

Together at last:
3. Stir the remaining blueberries into the cold pudding. Remove the mint spring from the sugared blueberries. Serve the velvet into four small bowls, add a dollop of whipped cream to each, divide the syrupy blueberries between the bowls, and garnish with a fresh mint leaf, whole or cut into ribbons.

Serve and Enjoy!!

Who would ever think that avocado and blueberries would work so well together!

Happy Cooking!

-Kristin